Table Fields
- Brevity Care Software
- Harvey Mediran
- Amol Patil (Unlicensed)
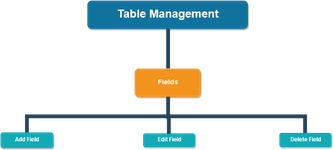
The fields section within table management allows you to add, edit and remove fields for a table.
Clicking on  button from the respective Table, you will be landed to Table Fields.
These are the topics on this page:
Managing Table Fields
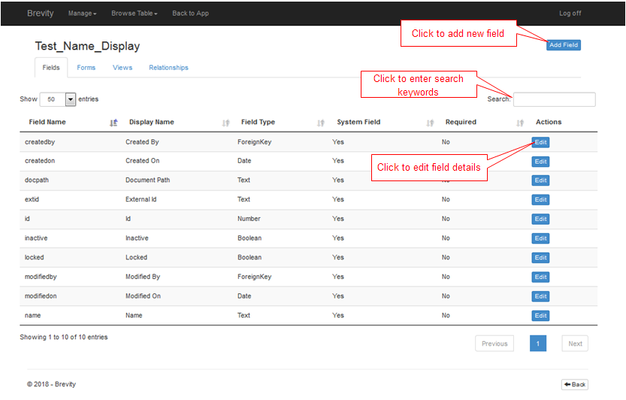
There are several functional buttons that let you manipulate the data being shown and stored by the system tables fields:
 - The 'Add Field' Button in the top right of the screen lets you create a new table field. For an in depth guide, see Adding / Editing Field
 - The 'Edit' Button lets you edit the details of the corresponding table field. For an in depth guide, please visit Adding / Editing Field
 - The 'Delete' button lets you delete the corresponding table field. For an in depth guide, please visit Deleting Field
Adding /Editing Field
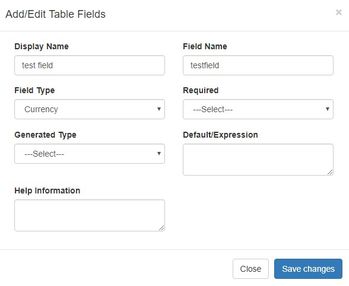
You will see the following form when adding or editing a field.
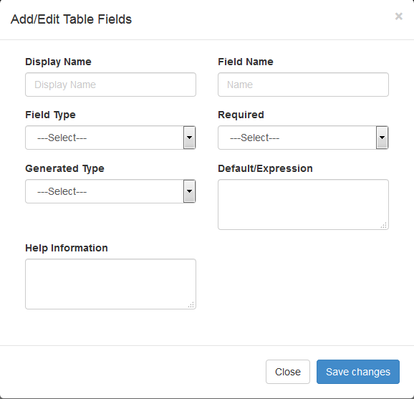
- Display Name: Label users see for the field on the form and views.
- Field Name: Name of the field on the database. This can't be changed once created. If you press the ‘TAB’ from the keyboard when the cursor is in ‘Display Name’ field, it will auto generate the ‘Field Name’ using the display name you have entered.
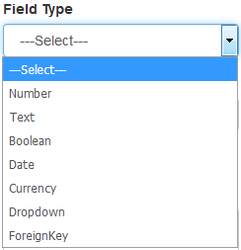
- Field Type: Data type of information stored for this column. See the Field Type section below for more details.
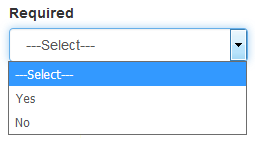
- Required: If field will be mandatory i.e. users will be required to complete this field before saving. You can select the field as either Compulsory or Optional.
- Yes: Represents the field as a compulsory field.
- No: Represents the field as an optional field. By default, this value has been selected.
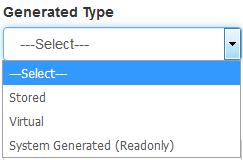
- Generated Type: Allows you to make the field readonly (so users are not able to enter information into the field) or generate the value for the field using a formula - this formula must be entered into the Default/Expression field.
- Default/Expression: Allows you to set a default value for this field for new records, or an expression if the Generated Type is stored or virtual. The expression must conform to SQL coding standards.
- Help Information: This will add a help icon next to the field label on the form with the text entered here shown as help tip.
Field Types
The table below describes the differences between the field types. For field types allow you to set additional input options, as noted on the table below:
| Field Type | Extended Type | Description |
|---|---|---|
| Number | Decimal Places | Allows for entry of only numeral values into this field. You can specify the number of decimal places that numbers will be stored with. |
| Text | Singleline | Single line alphanumeric field. |
| MultiLine | Multi line alpha numeric field. Show as a text area for multi line input. | |
| Displayed as a HTML 5 email field | ||
| Phone | Displayed as a HTML 5 phone field | |
| Url | Single line alphanumeric field | |
| LibraryFunction | Not currently implemented. Should not be used | |
| Boolean | - | Stored as a boolean field. Will display on the form as a yes/no radios, and within view with Yes/No values |
| Date | DateOnly | Shown on the form as a date only entry. Stored as a date field on the database |
| DateTime | Shown on the form as a date/time entry field. Stored as a date/time field on the database | |
| TimeOnly | Shown on the form as a time only entry. Stored as a date/time field on the database | |
| Currency | - | Stored on the database as a decimal field with a default of two decimal places |
| Dropdown | - | Stored as a whole number on the database. Allows you to add and order the options to show for this field |
| ForeignKey | Foreign Key | Allows you to select the table from which to get the information to show in this field. Stored as a number on the database, which references the related table value. |
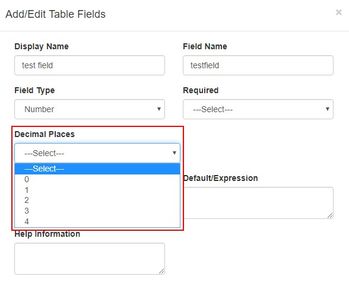
Number Field
You can set the decimal places using the number field.
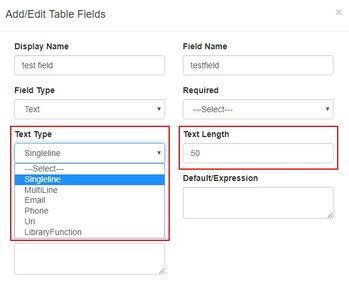
Text Field
You can select the text type and specify number of character on the text box
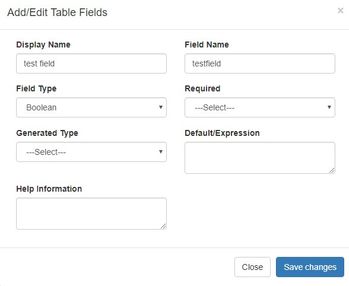
Boolean
Using this option will show a yes / no radio button
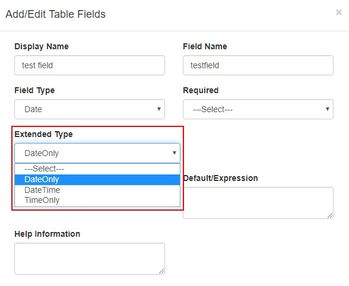
Date
You can select either Date Only, Date and Time and Time only option for the date field
Currency
Currency field will display a number with two decimal places
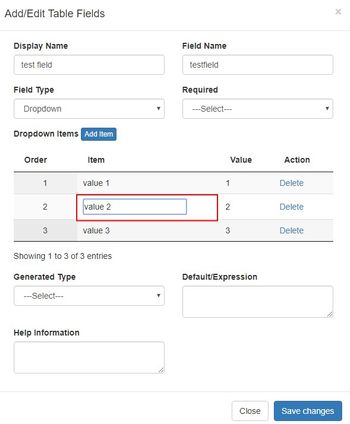
Dropdown
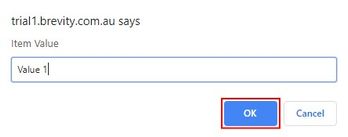
Using this field will let you add items that can be choose from the dropdown. You can add an item by clicking on the Add Item Button

Input the value for the dropdown and then click on OK button to add the value.
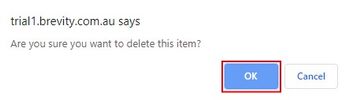
Delete Dropdown value
You can remove the value from the drop down by clicking on the delete button.

Click on OK button to confirm removing the value from the dropdown
Reorder value
You can re arrange the sequence of the values by clicking on the order of the value and then dragging it on the top or below other values.
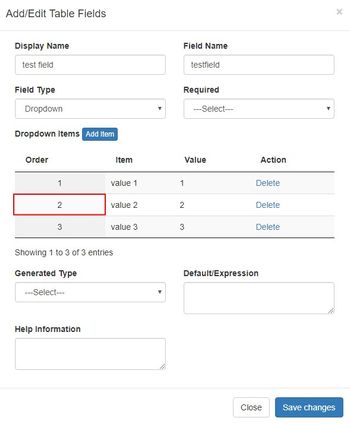
Change value
You can also change the name of the value by clicking on the value from the Item Tab
Foreign Key
Allows you to select the table from which to get the information to show in this field. Stored as a number on the database, which references the related table value
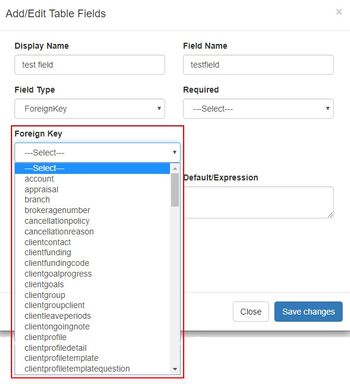
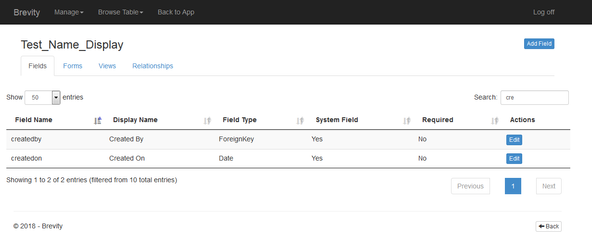
Table Fields
Displays the listing of all the table fields created by you along with the System generated fields with the following details:

- Field Name: Displays the name given to the field.
- Display Name: Shows the ‘Display Name’ given to the field.
- Field Type: Display the type of the field. The field type can be any of the following:
- Number
- Text
- Boolean
- Date
- Currency
- Dropdown
- Foreign Key
- System Field: Display the Boolean value as either ‘Yes’ or ‘No’.
- Yes: Represents that the field is System Field.
- No: Represents that the field is Non System Field.
- Required: Display the Boolean value as either ‘Yes’ or ‘No’.
- Yes: Represents that the field is a required field.
- No: Represents that the field is an optional field.
- Actions: You can take the following actions on the created table fields:
 Refer 'Managing Table Fields' section above for more details.
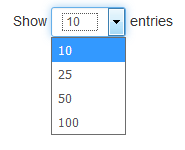
- Number of Entries per page: Select the number of entries for the table fields to be shown on the ‘Fields Listing’ page. Select any of the following to select no. of entries per page:
- 10: If selected, 10 Fields per page will be displayed.
- 25: If selected, 25 Fields per page will be displayed.
- 50: If selected, 50 Fields per page will be displayed.
- 100: If selected, 100 Fields per page will be displayed
At the bottom of the list, you will be able to see the slot of the entries you are currently viewing.
![]()
- Sort: Clicking on any of the column headers from the grid, you will be able to sort the listing in Ascending or Descending order.
![]()
- Pagination: Pagination feature allows you to view the entries from all the pages if present. Clicking on the ‘Next’ button, the entries from the next page will be loaded and clicking on the ‘Previous’ button, the entries from the previous page will be loaded. You can view the entries of a specific page by clicking on the respective Page Number.
![]()
- Back: You will be taken to the last page visited by clicking on ‘
 ’ button
Searching a Field
Search feature will allow you to quickly find the needed table field.
You need to enter the search keywords in the below Search Input box and instantly the Fields list will be filtered as per the keywords and shows you the required table field(s).
Deleting a Field
You can delete the existing table field by clicking on the ‘Delete’ button present across the field. Clicking on the ‘Delete’  button, you will be prompt for the Field delete confirmation. Once you select ‘Continue’ option, the selected Table Field will be deleted from the system.
Deleted Table Field(s) cannot be retrieved again. Be sure before deleting.
Related content
Copyright © 2019 Brevity. All Rights Reserved