Table Views
- Brevity Care Software
- Harvey Mediran
- Anne Pascual (Deactivated)
Table views allow you to build table views of information contained within the table. Views are built by specifying the columns to show on the table as well as the filters that should be applied to the table.

These are the topics on this page:
Managing Table Views
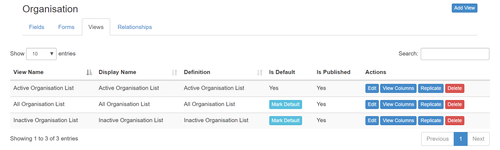
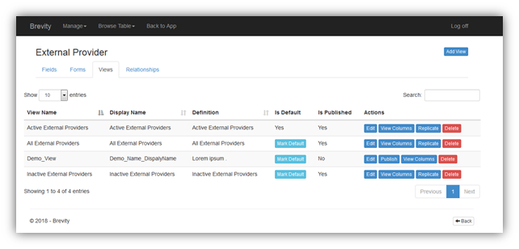
You are able to create as many views for a table as you like. You, however, can have only one default view that will be used when displaying the list on related forms. You can add a new view using the Add View button, the Mark Default button to set a view as the default view, the Edit button to change the name of the view, the View Columns button to manage the view columns and filter, the Replicate button to create a copy of the view, and the Delete button to delete view.
Default Views
By default, the system creates three views. An Active view that shows only records that have not been deactivated, an Inactive view that shows only records that have been deactivated, and an All view that shows all records.
Adding or Editing Views
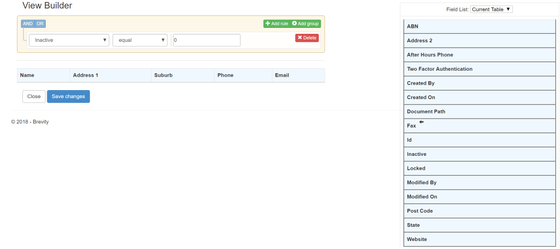
The screen below will show when adding or managing view columns. You are able to configure a filter for the view and well as add any columns for the view by dragging and dropping from the field list on the right. You can also add information from related tables by changing the table source dropdown above the field list on the right.
You can remove columns by dragging from the view to the section on the right. You can also reorder the columns in the view by dragging and dropping to reorder them.
Click the Save changes button to apply them to the view. You will also need to publish the changes from the view list after clicking save, for them to show for users.
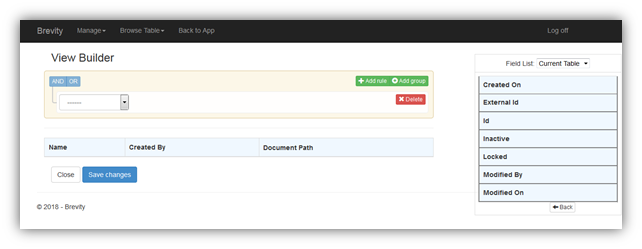
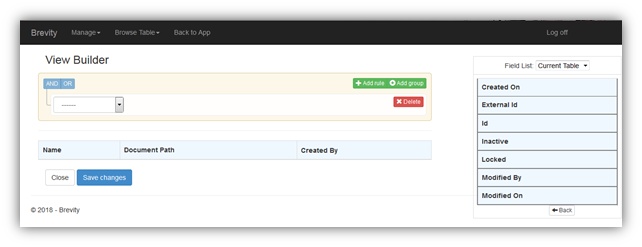
View Builder
‘View Builder’ allows you to create the View using elements:
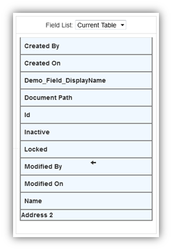
- Fields List: By default, the list of Current Tables (the table for which you are creating the view) Fields will be displayed to you. You can view the list of fields from the other related tables by selecting the ‘User’ list from the drop-down. You can use the fields to create the table for View.

- ‘View’ Table: This is the section where you can drag and drop the fields from the Fields List to create the View Table.
You can change the sequence of View Table column sequence by dragging and dropping.
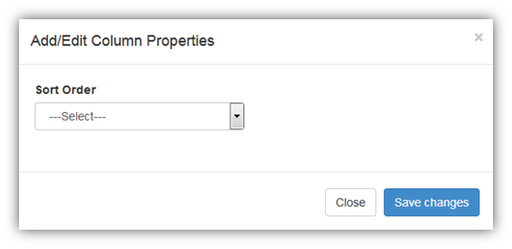
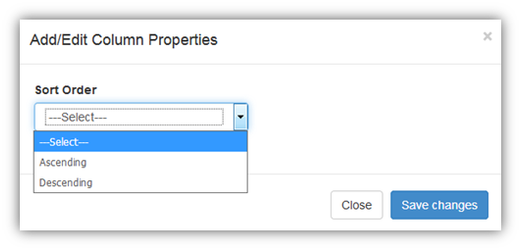
By double clicking on the column value, you will be allowed to sort the column values in either ascending or descending order. The whole table will be sorted accordingly.
- Table Rules: You can define the rules which will be applied to the View Table to filter the table records.

Add Rule: Follow the below steps to add the rule:
Step 1: Click on ‘Add Rule’.
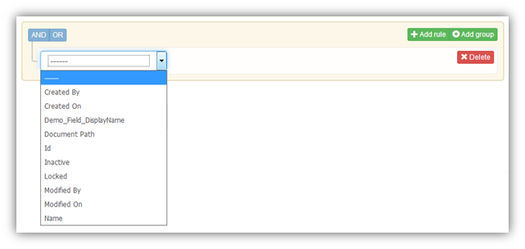
Step 2: Select the current table fields from the dropdown.
Step 3: Select the ‘Rule Type’ from the dropdown to be applied for the selected field.
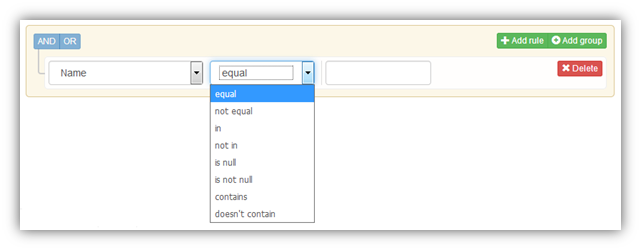
Step 4: Add the Conditional Value (if needed)

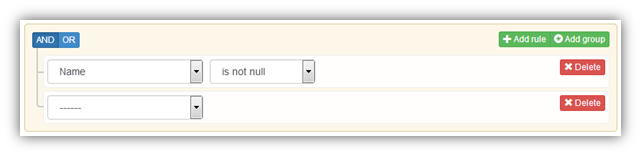
Step 5: Similarly, you can add multiple rules as shown below:
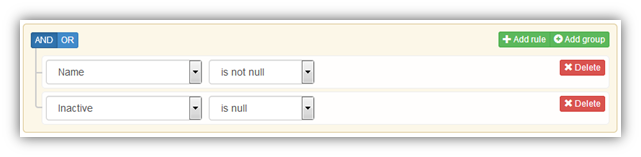
Step 6: Define either one of the following Rule Condition for the added rules:
AND
OR
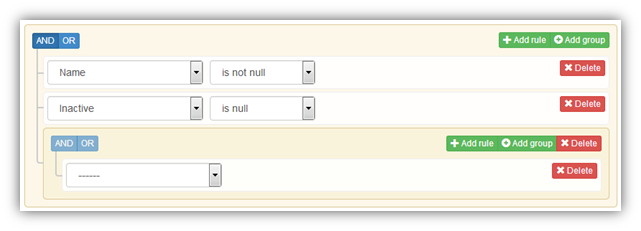
- Add Group: By default, one group is added as shown in the above snaps. You won’t be able to delete the default group. If needed, you can add another group to define the rules.
- Delete: Click on the ‘Delete’ button to remove the added ‘Rule’ or ‘Group’.
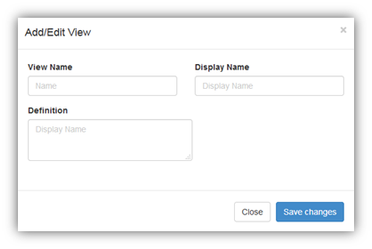
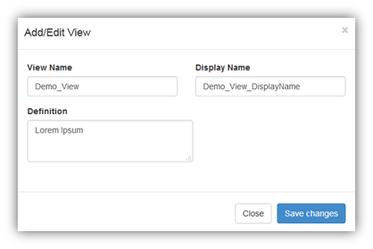
- Save: Click on ‘Save Changes’ to save the view. After clicking on ‘Save Changes’ for the first time, you will be asked to submit the following information about the View:
- View Name: Enter the name for the View.
- Display Name: Enter the display name for the view.
- Definition: Enter the view definition.
Click on the ‘Save Changes’ to save the view. The new view will be added in the views listing.
Copyright © 2019 Brevity. All Rights Reserved