Documents can be uploaded/attached to any record in Brevity, including Client and Employee records. This includes organising uploaded files within folders. This guide covers how to create folders and upload files to record in Brevity.
These are the topics on this page:
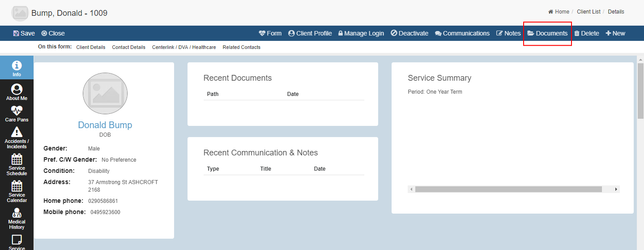
Accessing the Document Management panel for a record
From within the record select the Documents Icon in the upper right portion of the window,
Using the Document Panel
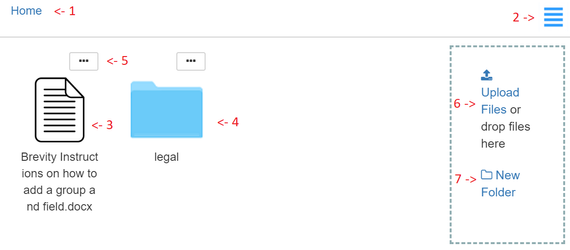
This will show the documents pane as shown below. From here you will be able to do the following:
- Breadcrumb: allows you to navigate folders
- Layout View: allows you to switch between icon and list view
- File Icon: all files for the folder are shown and can be clicked on to view in the document viewer
- Folder Icon: can be clicked on to navigate to the folder
- File Action Menu: used to share files or delete files
- Upload button: used to select and upload files. You can also drag and drop files to the right section to upload them. TO upload files, click this button, select the files from your computer (you can select multiple files), and click Open to upload.
- New folder button: used to create a new folder within the selected folder. It is possible to create subfolders as required. To create a new folder, click the New Folder button, enter the folder name when prompted, and click Ok to create the folder.
File Viewer
Brevity has a built in document previewer to save you having to download document before previewing. This can save you time and also is handy is don't have the propriety software installed needed to read the document. You'll be able to view the document using the application or through mobile devices. The system also allows the document to be printed or exported.
