| Anchor | ||||
|---|---|---|---|---|
|
Forms are the screens users use to enter information into the system. Brevity allows you to fully customize the layout of forms. Please note that fields must be created via the field section before they can be added to a form. Any field changes or deletions will be automatically reflected on the form.
...
To open the form builder, click on the Forms button from the Build Form button within to the form list.list of table to open the list of Forms.
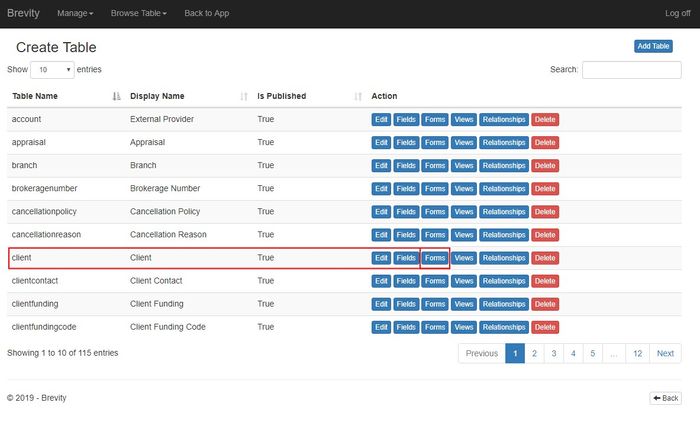
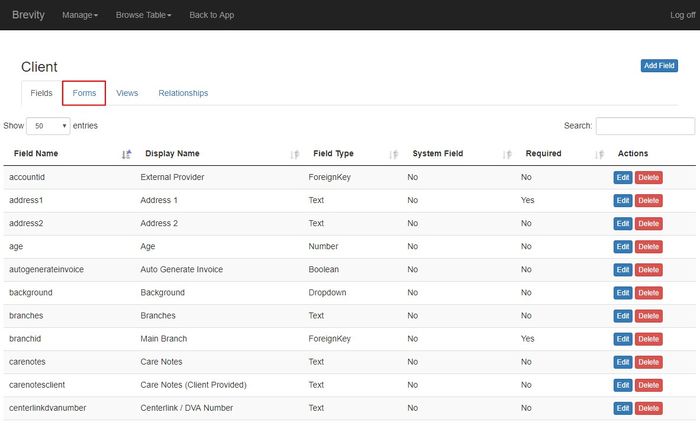
When you're viewing other list for the table (such as Fields, Views, Relationships), you can click on the Forms tab to view the Table Forms.
...
Build Form
From the list of forms, you can build the form by clicking on the Build Form button.

...
Using the Form Builder
The form builder allows you to organize information on the form within sections (#2 below) and further by groups (#3 below). You can also choose to have up to three columns within a section, set when adding the section to the form.
- Add Script: Allows you to include form scripts that you have added to the system on the form
- Section: Allows you to add sections to the form. This is done by dragging and dropping the section element from the toolbox on the right to the form (above or below an existing form section), or by double-clicking the section label. When adding or editing a section you will be shown two boxes - the first is to set the label of the section, and the second is to set the number of columns to show for the section.
- Group Header: Allows you to add groups to the form. This is done by dragging and dropping the section element from the toolbox on the right to a section on the form.
- Widgets: Allows you to add widgets you have loaded to the system on to the form. These can be dragged and dropped from the widget section on the right to a group on the form.
- Table Fields: Can be added to a group on the form by dragging and dropping to the group
- Foreign Key Views: Allows you to add related lists to the form
...

When Creating a new Form, you need to create first a new Section. Click and drag the section into the form builder section

After dragging the section to the form builder, you need to input the section name. Input the section name and then click on the OK Button.

You need to input the number of the column for the Section. Click on the OK Button after inputting the number of column for the section.

Click and drag the Group header from the list into the section you created. Group Header holds the value of widgets, fields and foreign key of the table.

Input the Header name and then click on the OK button to create the Header

After Creating the Group Header, you can now add the Table Fields. Click and drag the fields into the Header Section.

Once you are done creating the form for the table, click on the Save Form button to create the form

...
Renaming the Section and Header
If you want to rename section and header, double click on the name of the section / header. A pop up will appear on the screen. You can type the new name of the section / header and then click on the OK button to change the name of the section / header.

...
Setting the Default Form
From the list of forms, you can set the default form that Brevity will use by clicking on the Mark Default button. If you set another form to be the default form, it will reflect the changes when you open the table in Brevity.

...