| Section | |||||||||||
|---|---|---|---|---|---|---|---|---|---|---|---|
| |||||||||||
|
Accessing the Table management area
From the application, click on System Setup on the menu.

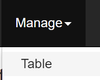
The table management section will show by default but you can also select Manage > Table from within the System Setup area.
Search for table by typing the table name into the search field (as per instructions at the top of this document), then click the Fields button to create new fields
Creating New Fields
On the Fields page, click Add field to create a new field.
Complete form as required.

Click Save to create the field
| Info |
|---|
Repeat |
the steps until you added all the fields that you will use on the table. |
Adding the fields to the form
To add the newly created fields to the form, click the Forms tab from the field list screen and select the Build Forms button within the Table Forms list. This will display the form editor with the layout of the form for the table being edited.
You can add new Sections and Groups to the form by dragging and dropping them from the right toolbar onto the form, to where you would like them to show on the form.
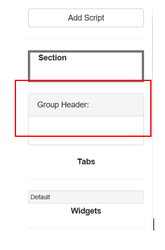
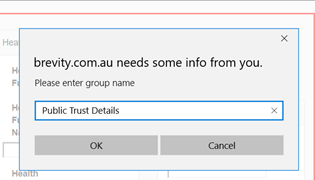
When adding a Section or Group it will ask you to enter a display name to show on the Section/Group.
Once the group has been added, you can then drag the newly created fields from the right to a Group on the form. Please note that is fine to add fields to existing groups if you so desire.
Save form via the button at the bottom of the screen once done. Users will see the new fields on the form next time it is opened.