...
This page guides you through the creation and management of branch records
Introduction
Branch records are accessed via the Administration>Branch Setup sub menu. Branches are an organisational unit in Brevity that come under an Organisation. Multiple Branches can be created for one or more Organisations. A Branch can be a department (eg, accounts), activity-based (eg, support service or clinical) or a geographical location (region, state, city or suburb). For additional information on Branches, see Team .
The information kept for Branches enables management of:
Travel and invoice settings,
The Organisation's service agreements for new business activities, and
The content that Employees and Clients see when using Brevity mobile and self service applications.
...
Navigating the Branch form
...
| Expand | ||
|---|---|---|
| ||
The following is a summary of the fields contained with branch page.
|

Create a Branch record
To create a branch record observe the following steps:
Select the the Administration>Branch Setup to open the branch record into the browser. You will observe that the active branch associated with your login will be presented within the browser.
Select the
 New button located top left of the branch record, to refresh the browser with a blank branch page.
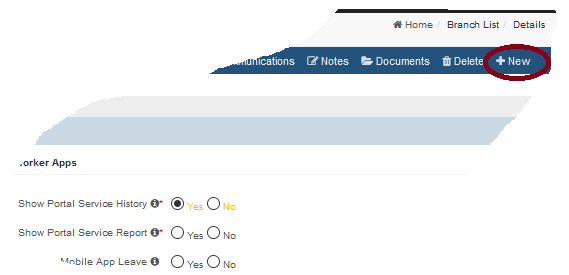
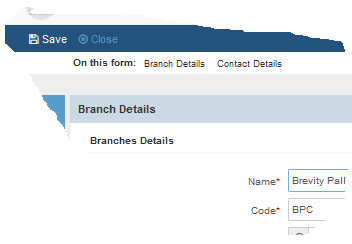
Within the Name field input a name that will be used to identify the Branch record.
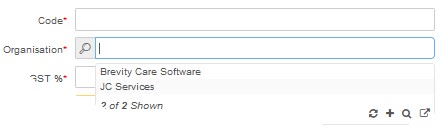
Within the code field input an abbreviated value that will be used to identify the Branch record.
Within the Organisation field position the cursor into the field to select from the drop down the relevant organisation records that will be identified to the branch record.
Within the GST field input the value 10.00.
Within the timezone field select from the drop down listing the applicable timezone in which the branch is located.
If your organisation is utilising a 3rd party accounting package then review and update the fields listed under Travel Setup panel.
If your organisation will undertake invoicing in connection with the branch record you will need to ensure that you update the fields listed under Invoice Setup panel.
If the organisation will be associating the branch to scheduled client services as well as branch rostering on the employee profile you will need to review and update the fields listed under Support Worker panel.
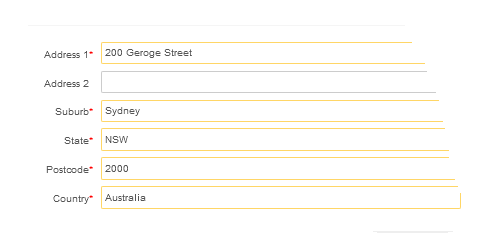
Under the Address panel of the contact details there are a number of fields that will require input, they include the Address 1, suburb, state and postcode fields. Ensure that data is input into these fields.
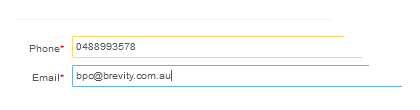
Under the Contact panel of the contact details there are two fields that will require input, they include Phone and Email
Select the save button to create the branch record. Note that once the branch record has been saved you will be able to upload an image for the letterhead as well as an service agreements that are applicable with the services and supports offered by the branch.
Invoice Setup
To update the branch records invoice fields please observe as following; an example of an invoice is provided so that you can navigate where on the invoice these elements are located.
Within the Invoice Footer Left field input your organisations terms and payment instructions, these may be generic or particular with the branch. When inputting this information be mindful of space restrictions on the invoice.
Within the Invoice Footer Right input the bank account details of where the invoice payment will be remitted to.
Within the Invoice Include Employee Names, the field value is by default set to No, to concatenate the client name to the end of the service line set the field value to Yes.
Within the Invoice Show Times, the field value is by default set to No, to assigned the scheduled shift start and end times as columns within the invoice set the field value to Yes.
...
Managing the Service Agreement document
The Service Agreement templates are documents, mail merged in MS word that are used when generating Service Agreements. Service Agreements can be generic across the organisation, or they can be bespoke to the branch as determined by the services and supports offered.
Service agreement templates that have been customised and mail merged are accessed through the proposal page of the lead module.
...
Upload the Service Agreement
To upload a Service Agreement template observe the following steps
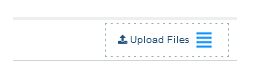
Select the Upload Files link within the Service Agreement Templates panel to open the File Upload screen.
Within the File Upload screen, search for and highlight the Service Agreement template.
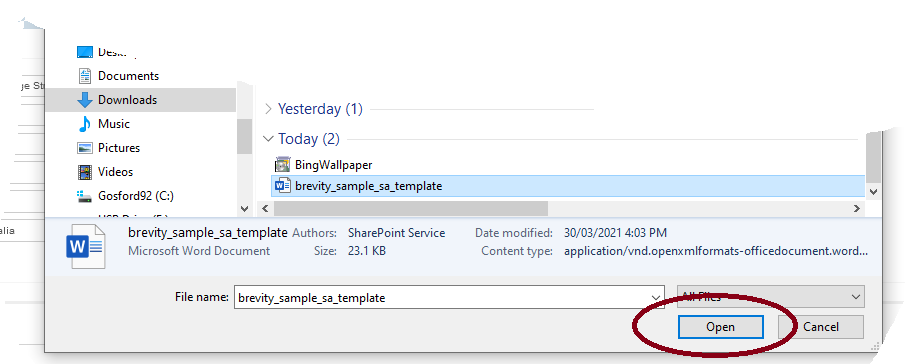
With the Service Agreement template listed within the file name field select the Open button update the Service Agreement Template panel with the selected the document.
Edit the Service Agreement
To edit the service agreement template observe the following steps
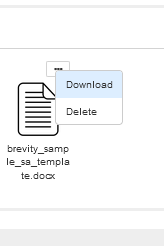
Select the
 floating menu located to the right of the document.
From the floating menu select the Download menu option
Microsoft word will prompt you to either Open or Save the File.
...
Mobile Application configuration settings
The following is an outline of the mobile application configuration options
Show Portal Service History
This option allows you to control whether the client’s service history is available to the support worker through their Brevity care app. If you set this option to YES then your support workers will see the service history of the client. Whereas if this option is set to NO the service history will not be available.
...
This option allows you to control whether the View Summary Report link is available to the support worker through their Brevity care app. If you set this option to YES then your support workers will see the View Summary Report link which will allow them to access additional information related with the client. That additional information includes language spoken, type of disability, goals, documentation and medication. Whereas if this option is set to NO the View Summary Report link will not be available.
...
This option allows you to control whether the support worker can view and create their own leave requests through their Brevity care app. If you set this option to YES then your support workers will be able to select the leave icon located in the footer of the app dashboard to access both a summary page of leave planed and taken as well as request new leave. To make a leave request the support worker can click the ![]() add icon in the bottom right-hand corner of the leave tab within the Brevity Care app to bring up a leave request page. Whereas if this option is set to NO the leave icon as discussed above will not be available.
add icon in the bottom right-hand corner of the leave tab within the Brevity Care app to bring up a leave request page. Whereas if this option is set to NO the leave icon as discussed above will not be available.
Show Client Feedback Rating
This option allows you to control whether you want the client to rate the service that they have received from the support worker. Feedback from the client through the Brevity Care app is by means of a star rating. If you set this option to YES then the client rating field will be shown on the same page that the client uses when they are signing off on a completed service. To be noted that this rating is mandatory and must accompany a signature at the conclusion of the service. Whereas if this option is set to NO the client feedback rating will not be available.
Show Portal Address / Phone / Mobile
These three options allow you to control what client address and communication details will be available for review by the support worker through their Brevity Care app. If you set the option to YES on the respective fields then either the clients address, phone or mobile number will be displayed within the shift details (past, upcoming and current) for the support worker to review. Whereas if this option is set to NO on the respective fields then that information will not be available for review by the support worker.
Allow Client Service Request
If your client has been provided with login credentials, then this option will allow you to control whether the client can register new service requests through their Brevity care app. If you set this option to YES, an add ![]() icon will present in the bottom right-hand corner of the shift tab within the Brevity Care app. Selecting the add icon provides the client with access to the NEW SERVICE screen, where they can specify service date/time, description of the activity and service type. Whereas if this option is set to NO the add icon will not be present and the client will not have the option of adding a shift.
icon will present in the bottom right-hand corner of the shift tab within the Brevity Care app. Selecting the add icon provides the client with access to the NEW SERVICE screen, where they can specify service date/time, description of the activity and service type. Whereas if this option is set to NO the add icon will not be present and the client will not have the option of adding a shift.
Show Client Plan Balances
If your client has been provided with login credentials, then this option will allow you to control whether the client can review their funding through their Brevity care app. Plan balances includes available, used budget, total budget and a breakdown by service type. If you set this option to YES, the client plan details will be available for review through the invoice tab as well as the shift tab of the Brevity Care app. Whereas if this option is set to NO the client plan balance will not be present.
Show Portal funding
This is option is applicable only through the to the Brevity self-service portal. If set this option to YES then you will be able to see the client funding. Whereas if the option is set to NO then the clients funding will not be displayed through the Portal.
Show Portal All documents
This is option is applicable only through the to the Brevity self-service portal. If set this option to YES documentation applicable to the client will be available through the portal. Whereas if the option is set to NO then the client’s documentation will not be displayed through the Portal.
Edit the Branch record
The steps involved in editing a Branch record will depend upon whether you are editing the current (active) branch record that is presented when you select the Administration>Branch setup menu or a different one if your brevity system is configured with multiple branch records.
...
| title | Applying updates to the current branch record |
|---|
Delete a Branch record
Branch records MUST not be deleted under any circumstance. Please consult Brevity in the first instance, through the support desk if you have concerns with one or more of your organisations branch record(s). Removal of a branch record will compromise data relationships and will interfere with your ability to log into the Brevity web and mobile applications.
...
To delete a branch record that is perhaps redundant or has never been assigned to records (employee, client) observe the following steps:
Select the Administration>Branch setup sub-menu to open the active branch record page into the browser.
To search for the Branch record select the close button that is located top left of the page, to close the branch record and open the Branch List page within the browser.
Highlight the Branch record to be deleted.

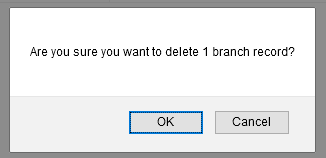
Select the "Delete Button" in the upper right portion of the window.
Select the OK button to confirm the deletion of the selected record. Record listing will refresh.
Activate and Deactivate a Branch record
Prior to adjusting the activity status of a Branch record, it is recommended that you consult Brevity, through the support desk if you have concerns with one or more of your organisations branch record(s). Deactivating a branch record will compromise data relationships and will interfere with your ability to log into the Brevity web and mobile applications.
Adjusting the activity status of the branch may temporarily compromise data relationships and will interfere with your ability to log into the Brevity web and mobile applications.
To edit the activity status of a branch record that is perhaps redundant observe the following steps:
...
Select the Administration>Branch setup sub-menu to open the active branch record page into the browser.
...
To search for the Branch record select the close button that is located top left of the page, to close the branch record and open the Branch List page within the browser.
...
Search for the branch record from within the Branch list.
...
Highlight the record and either select the EDIT button or double click on the branch record to open it within the branch form.
...
To deactivate the Branch record select the Deactivate button.
...
To activate the Branch record select the Activate button.
...
This page provides the user with an overview on the maintenance of Branch Records.
Introduction to Branch RecordNavigating the Branch RecordCreating a Branch RecordEditing and Deleting a Branch RecordInvoice SetupManaging the Service Agreement documentUpload Letter Head ImageOrganisational Documents
...